Think of it as a knowledge base for your chatbot. Every time your visitors ask questions chatbot will look through documents and try to find the most suitable answer. If it doesn’t exist chatbot will try its best to reply in the most appropriate manner.
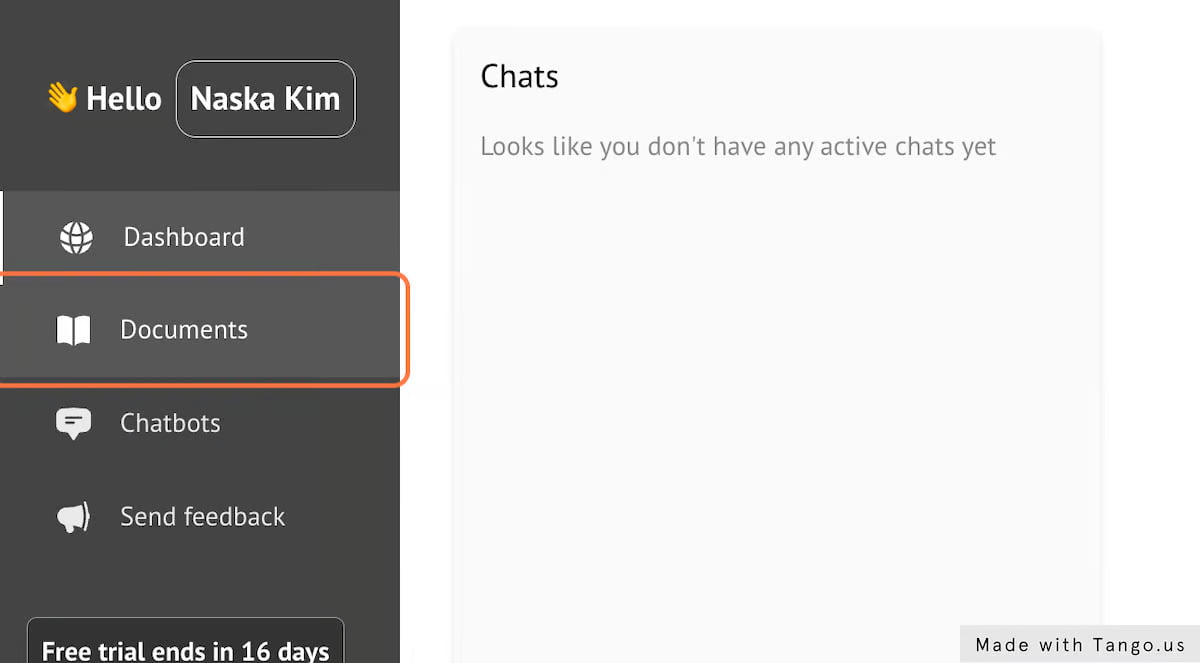
2. Click on Documents
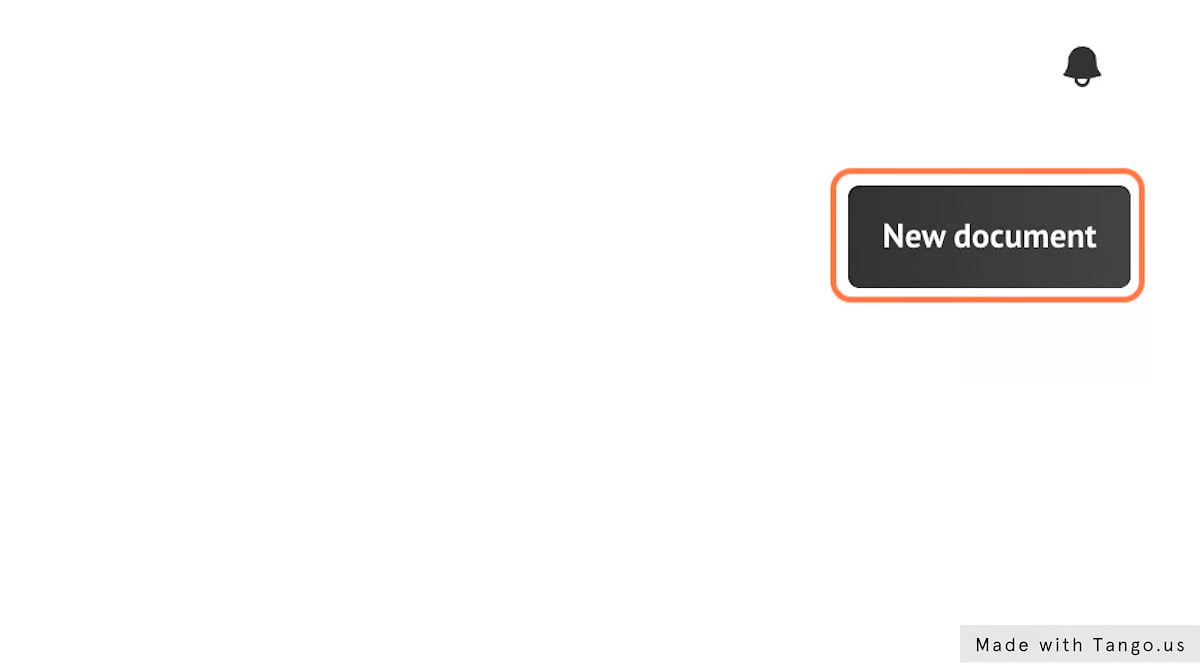
3. Click on New document
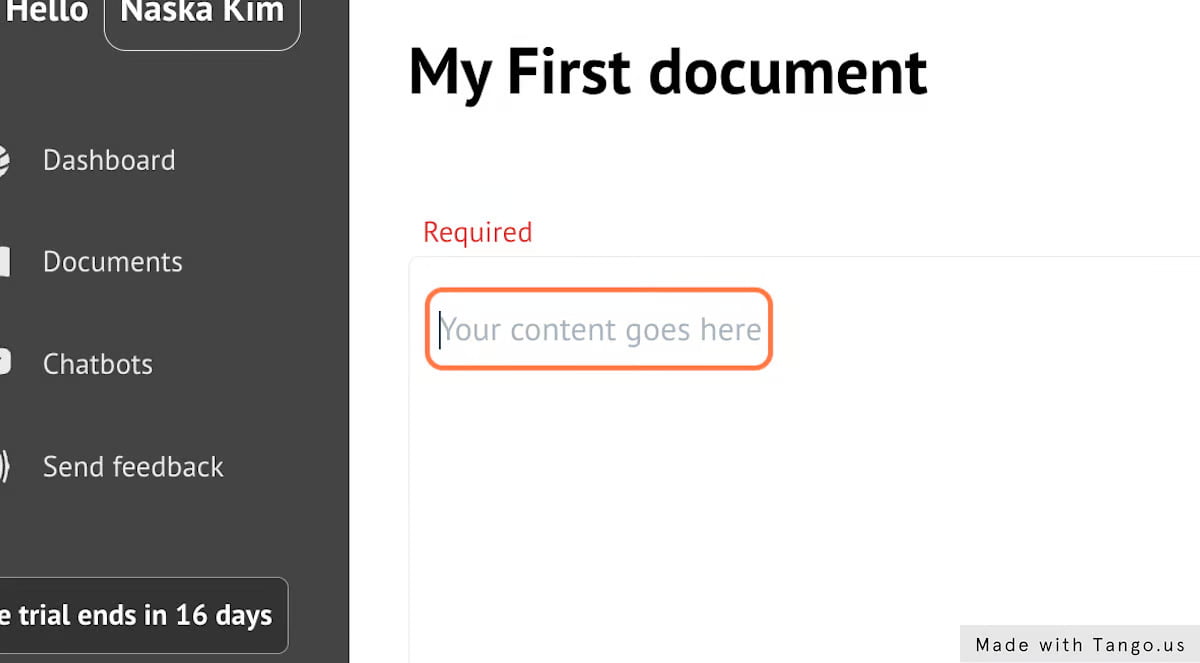
4. Click on title.
Add document title it is a required field.
5. Add document content
This is where all important stuff should go.
Keep in mind everything that goes into documentation is available to chatbot, meaning you should not put any private or sensitive information in there.
The mode descriptive documentation is, the more likely chatbot will give an accurate response to the client.
Document is limited to 10000 characters ~ roughly 2500 words ~ 5 pages.
Since we provide unlimited documentation feel free to create any number of documents you want. The more, the better.
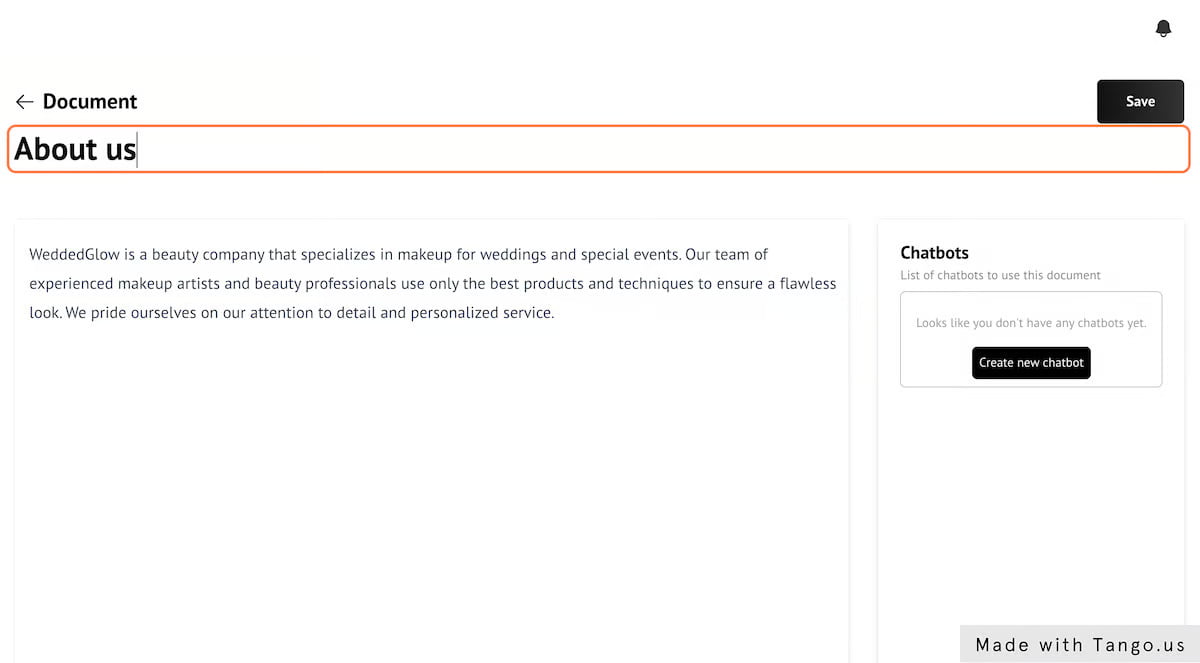
6. Fill document with text
7. Let's rename document to "About us"
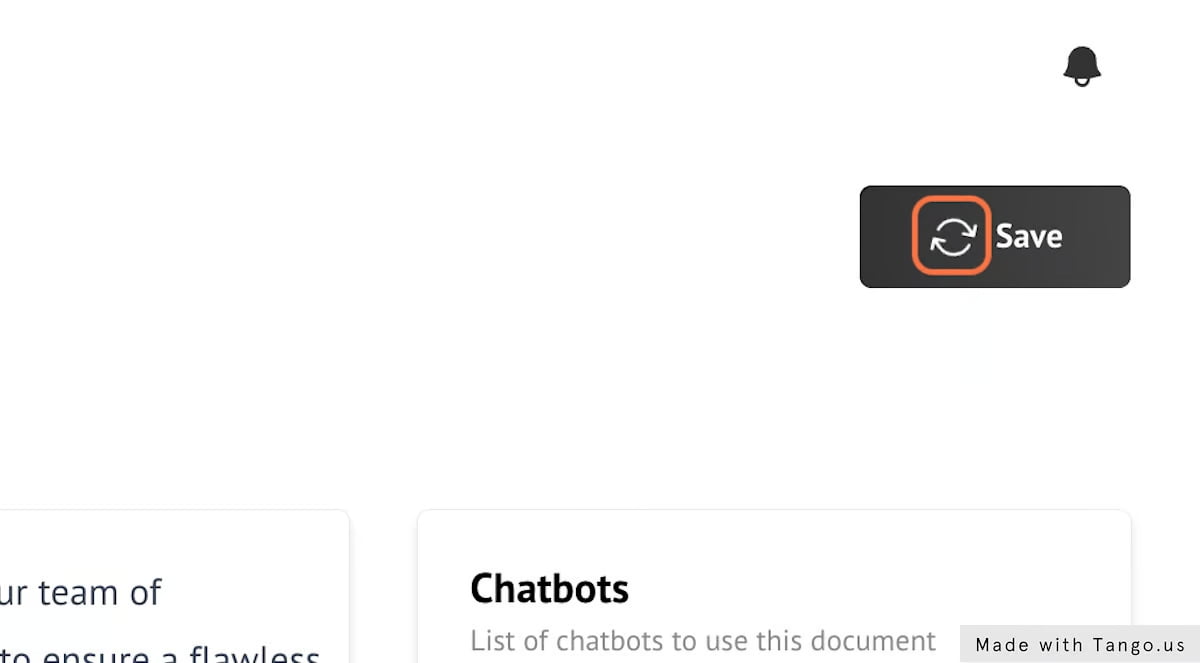
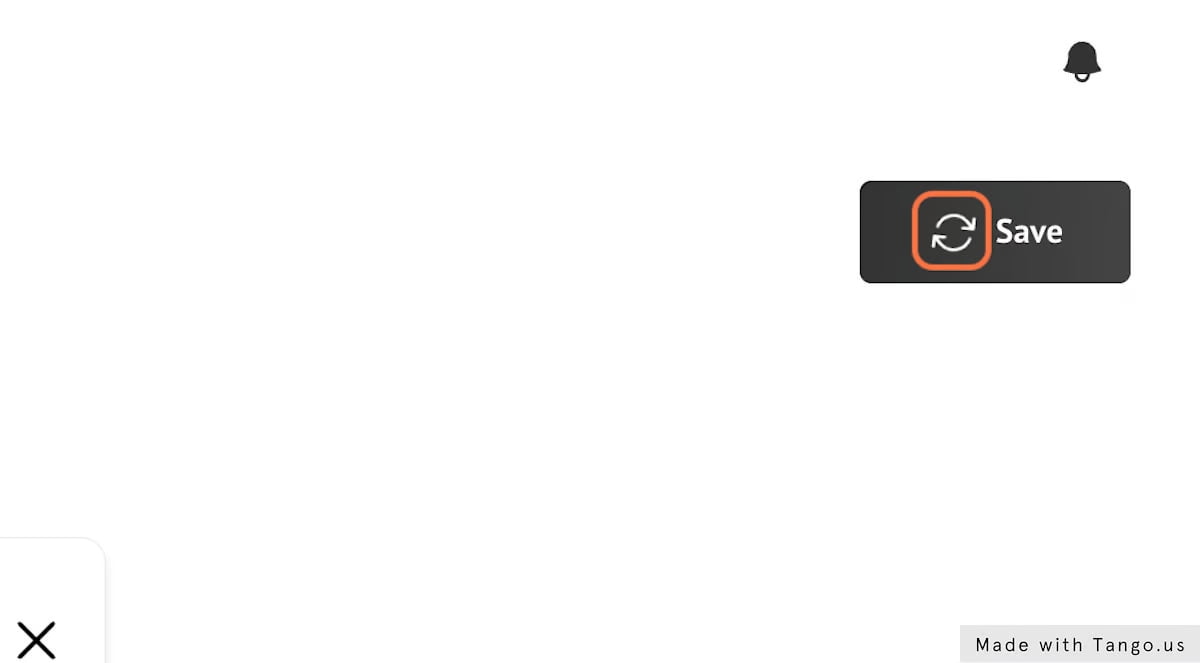
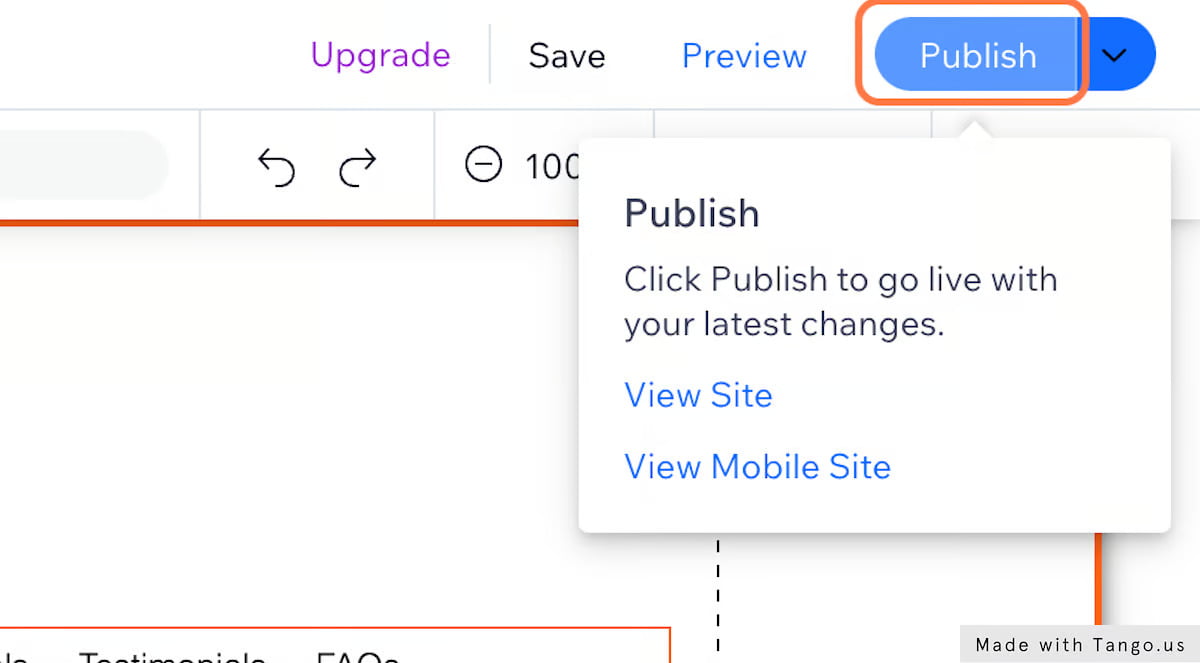
8. Click on Save
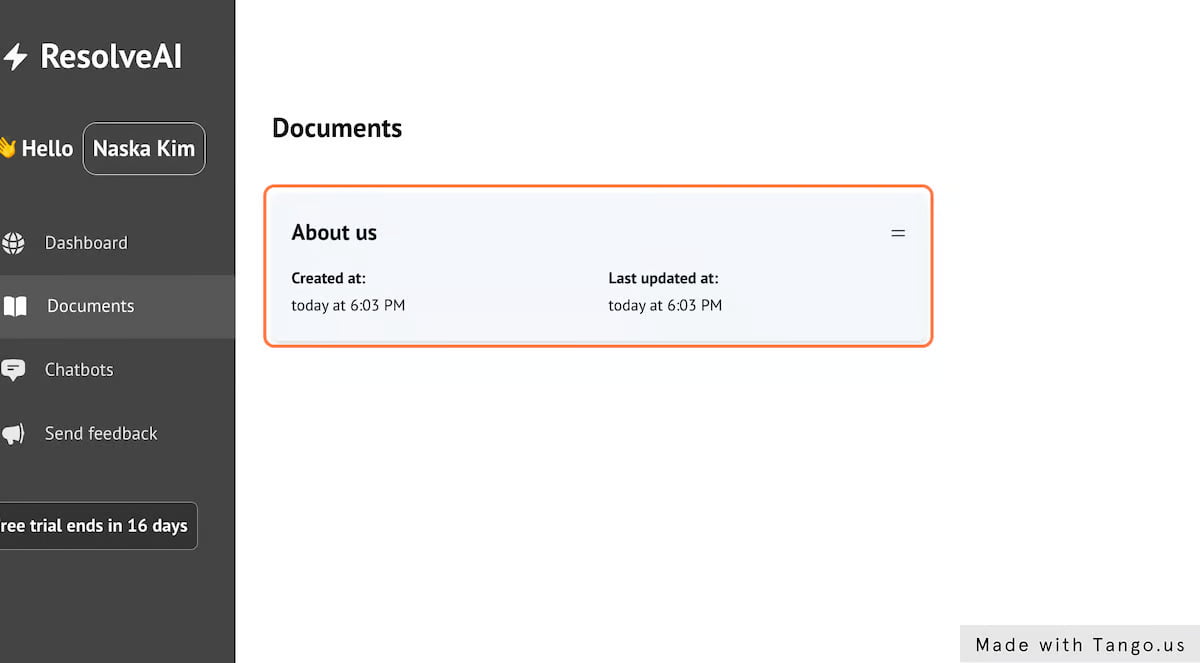
9. If you go back to documents you can see your saved document
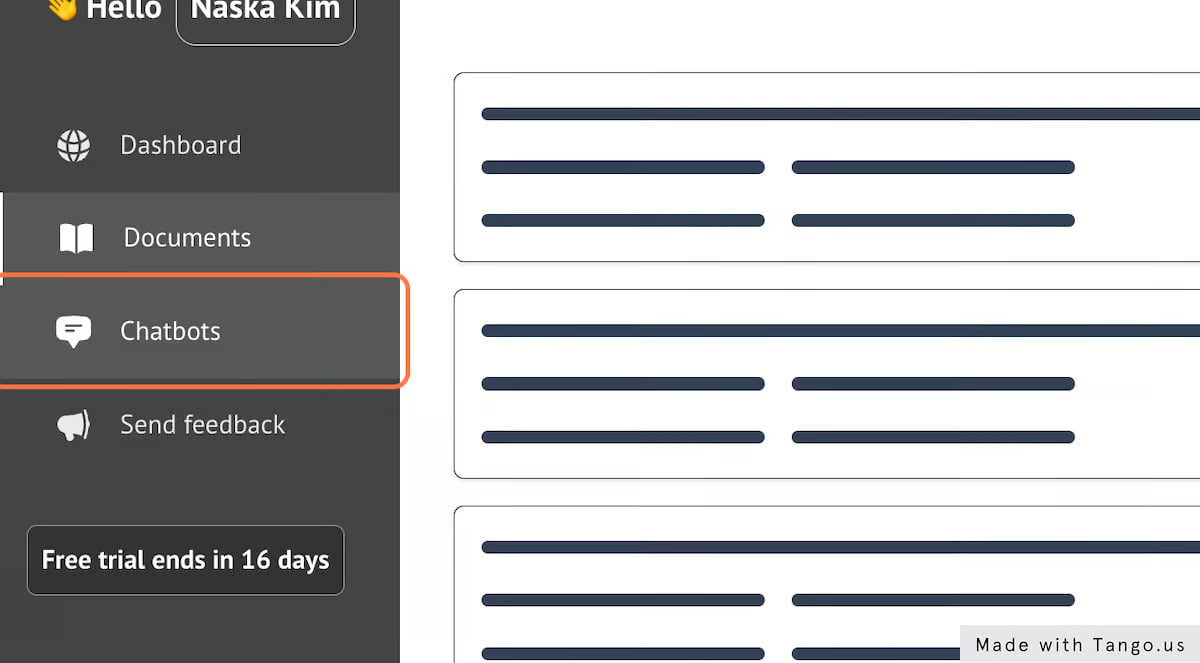
10. Now let's create chatbot. Click on 'Chatbots'
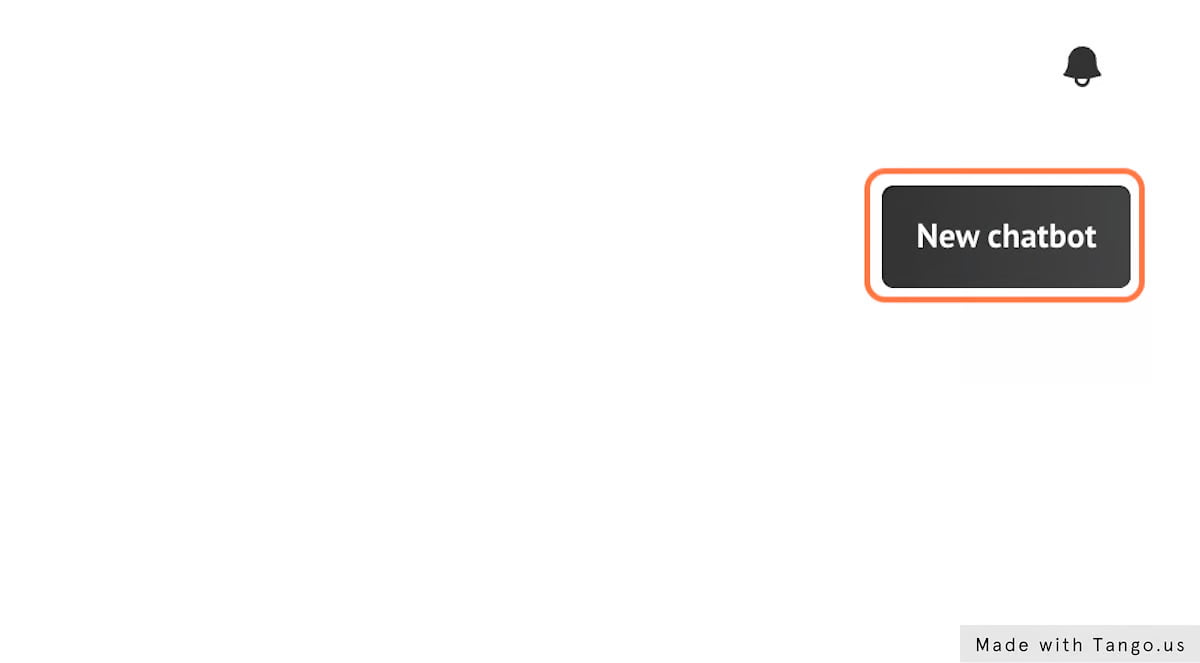
11. Click on New chatbot
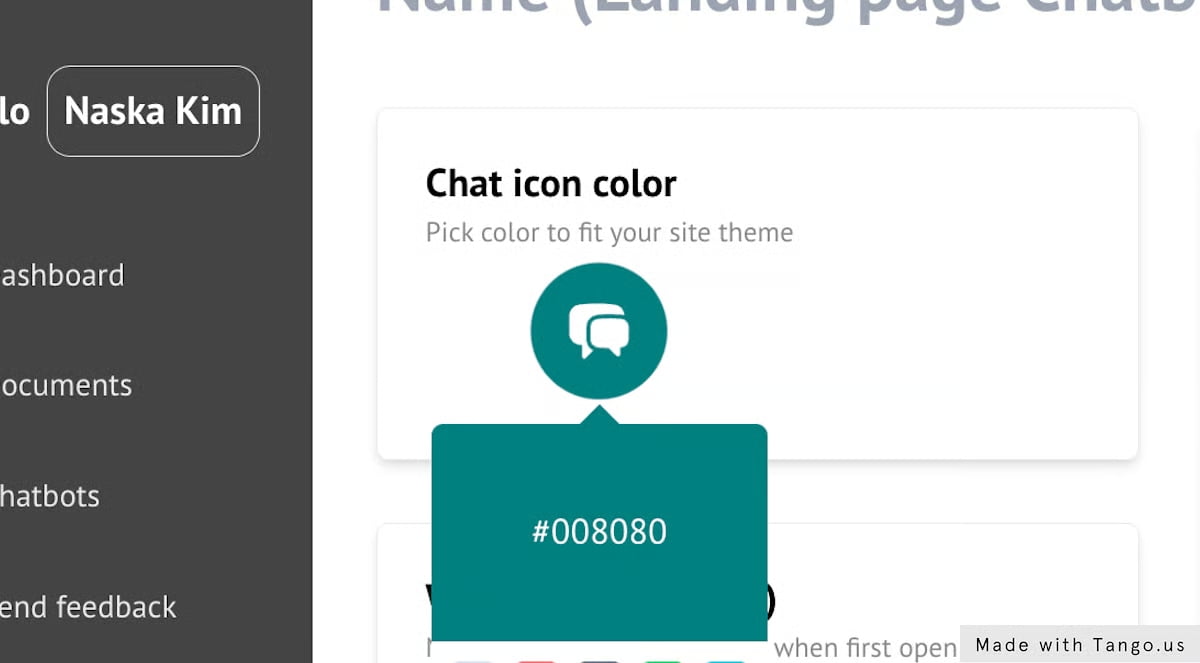
12. Select Chat icon color
Customize your Chat icon to match your website color scheme
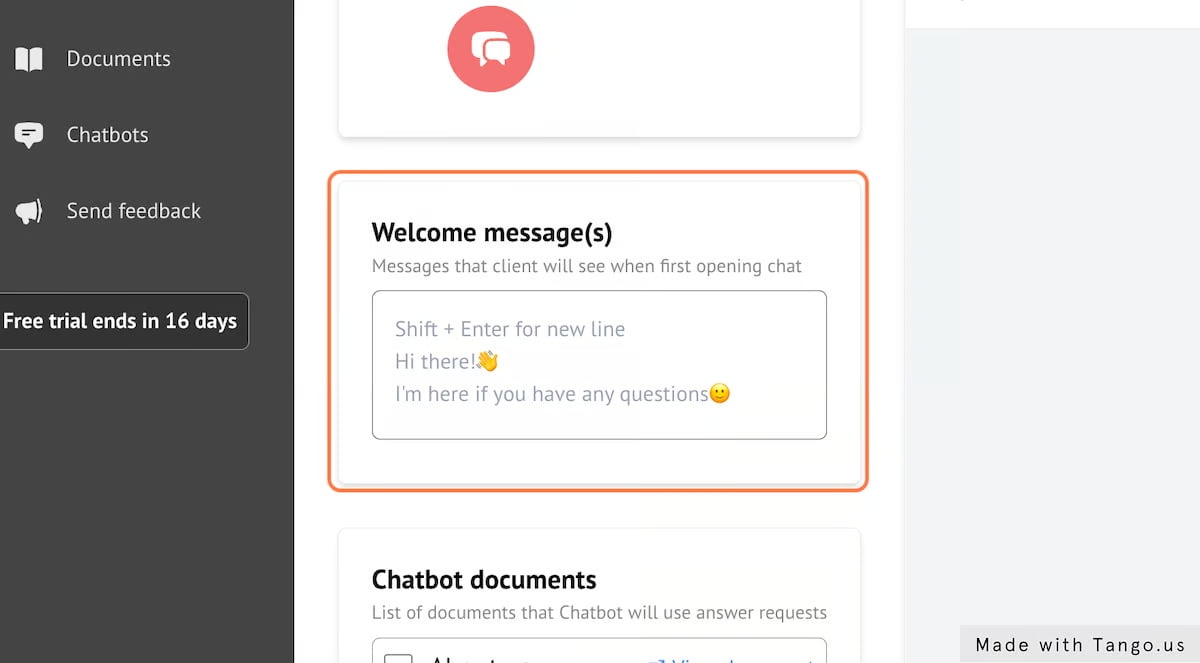
13. Welcome message
Customize your Welcome message.
When customer open chatbot those are initial messages that they will see.
This is a very good first step to engage with your customer and ask questions or provide some useful information right away.
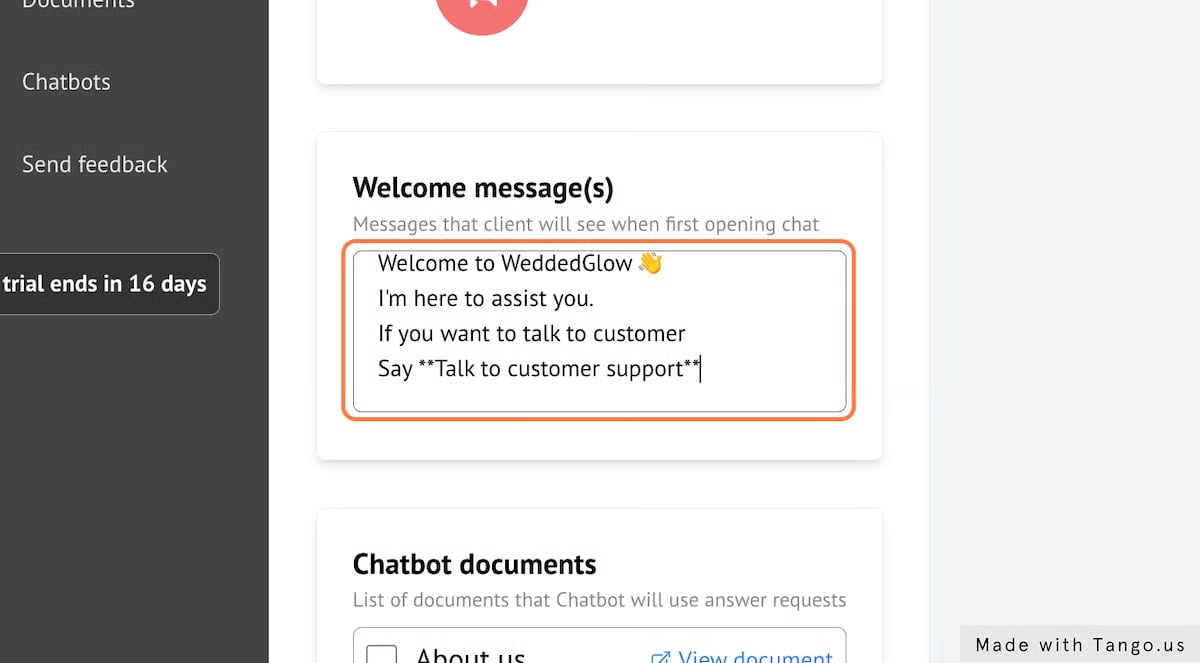
14. Adding Welcome message
Message can be formatted with markdown and don’t hesitate using emojis!
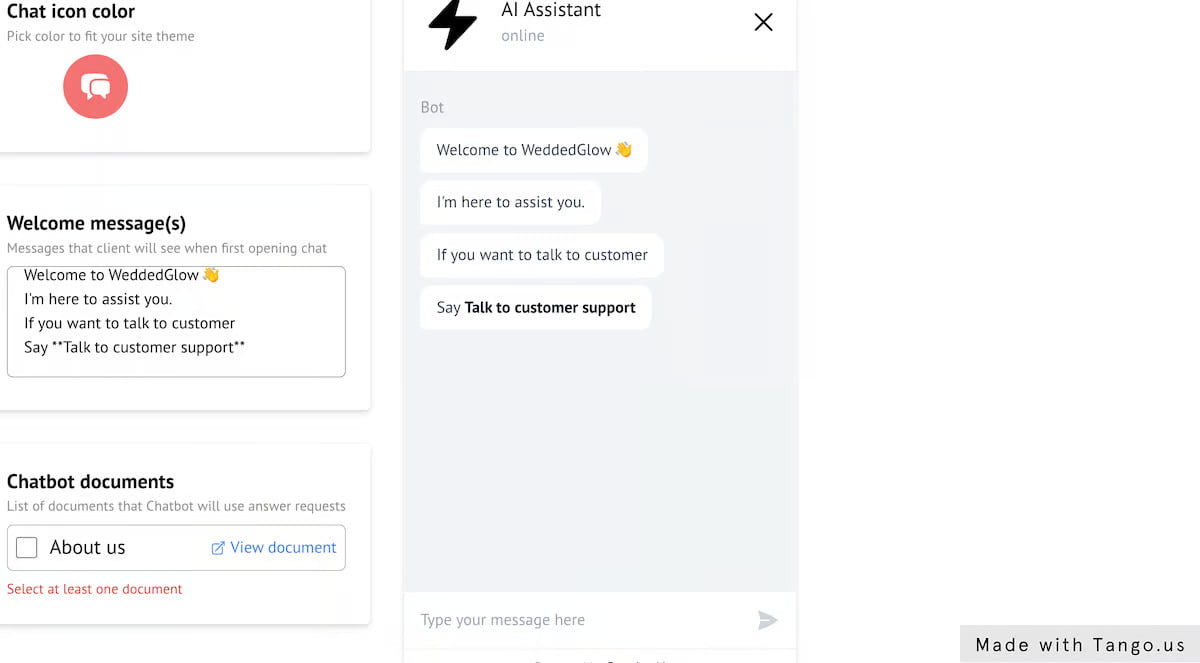
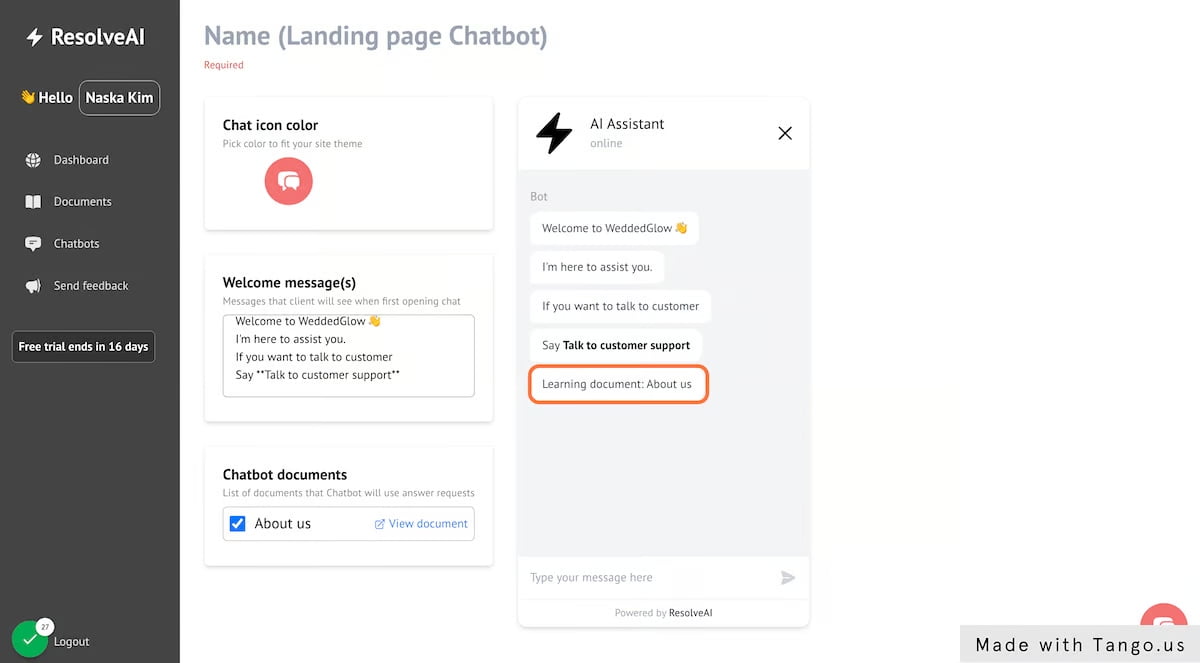
15. Preview Welcome message
Once complete you can see a preview of your Welcome Message
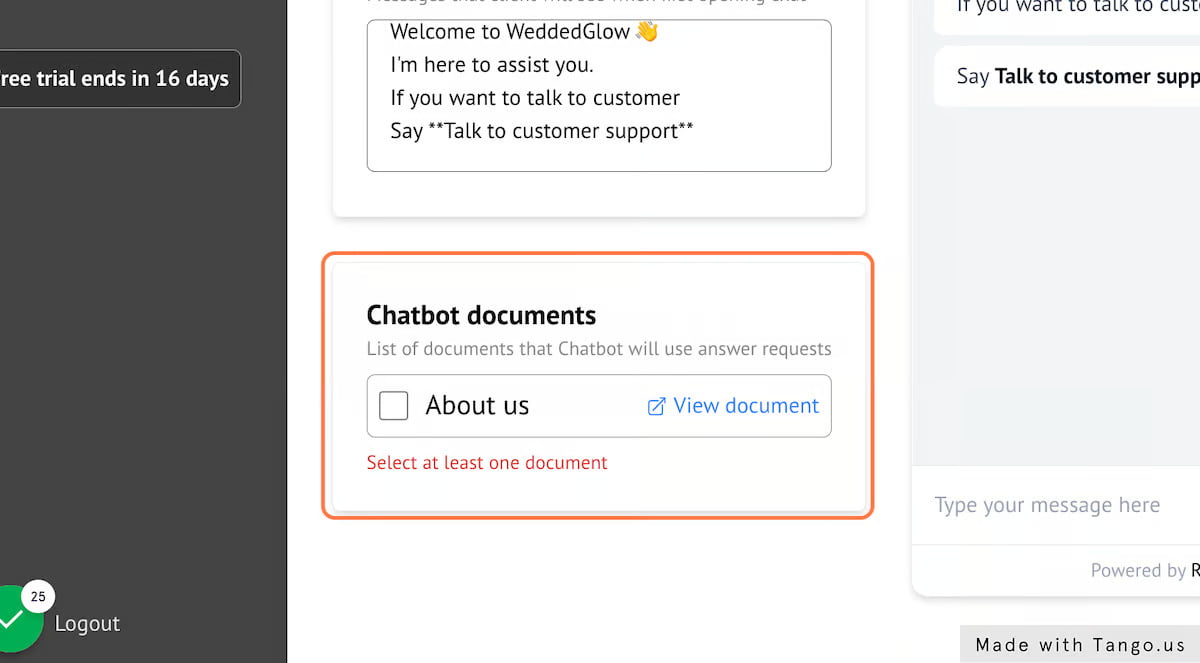
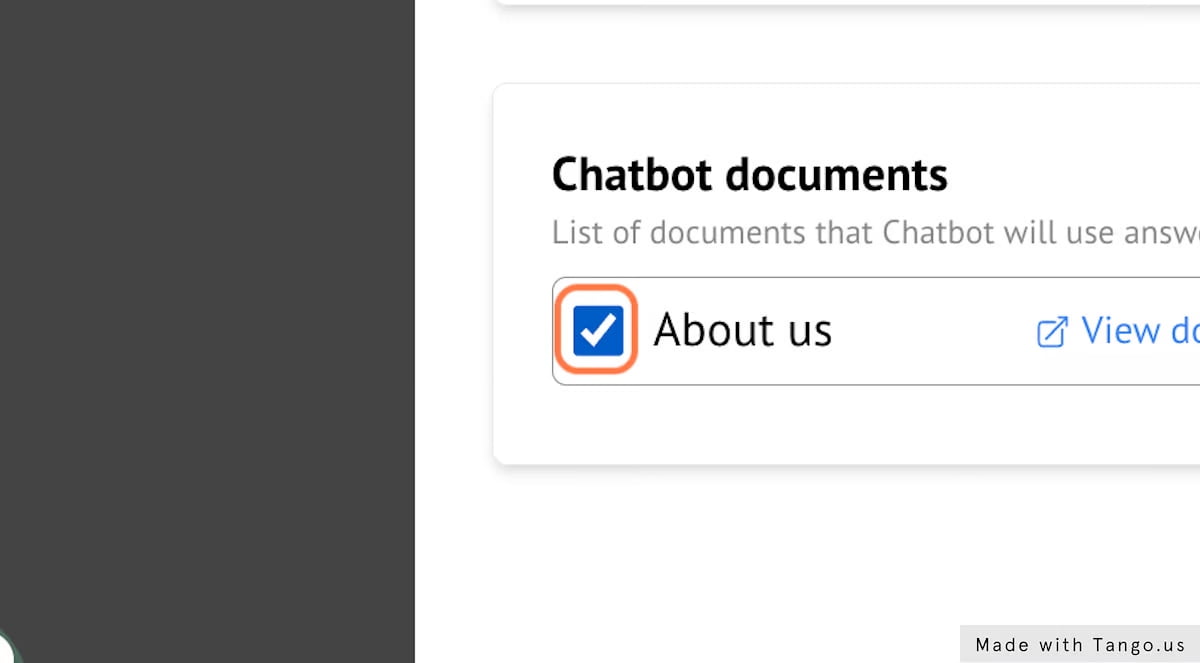
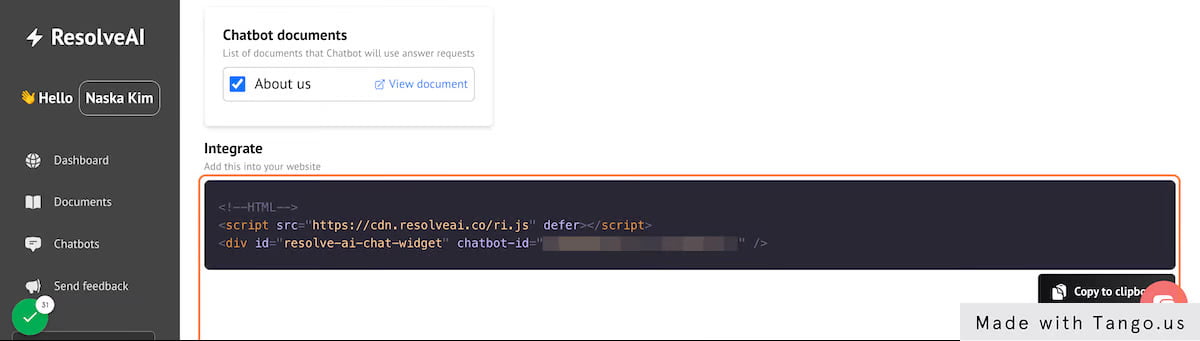
16. Select documents for chatbot
Next you need to select documents for chatbot to gain context from.