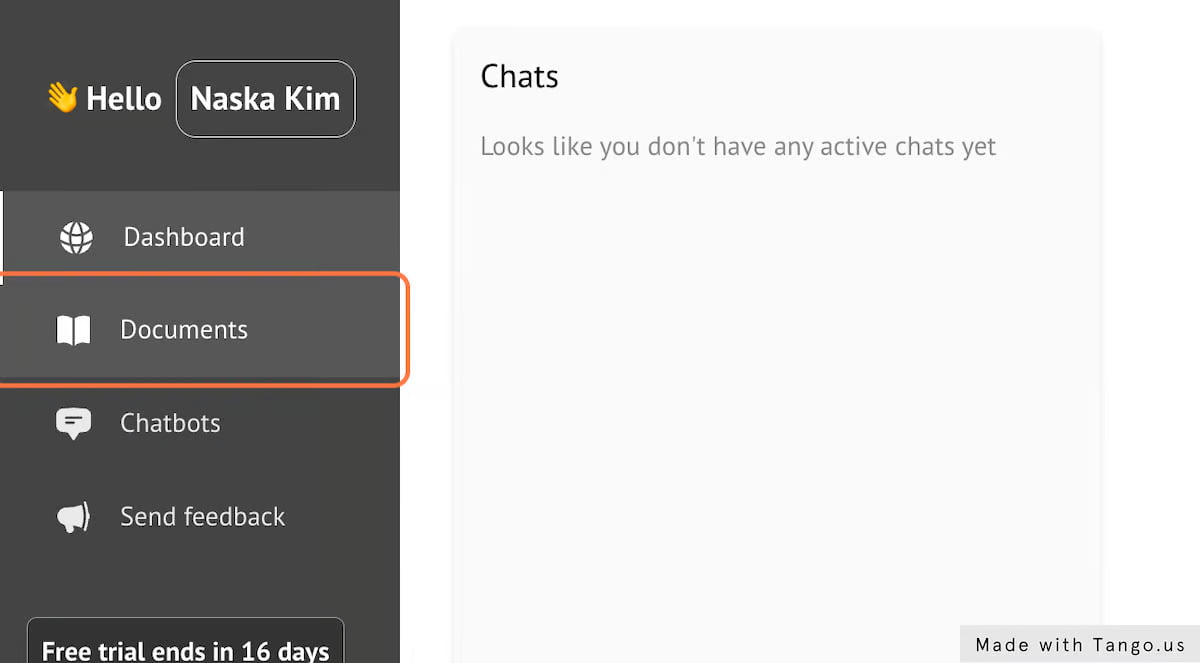
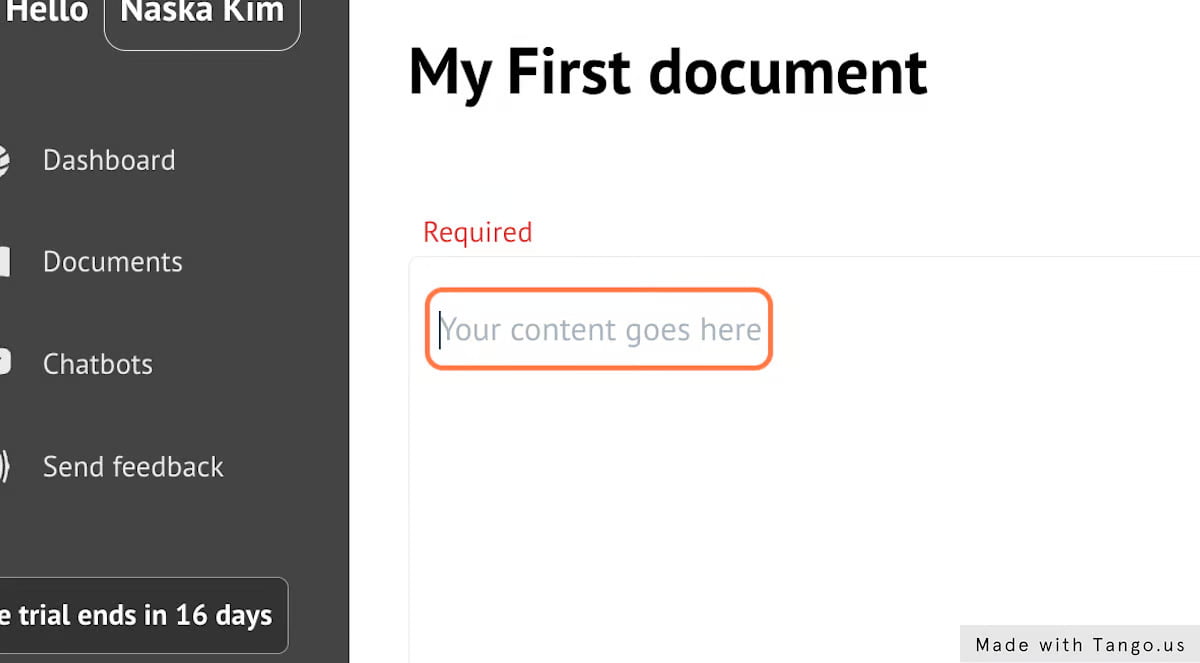
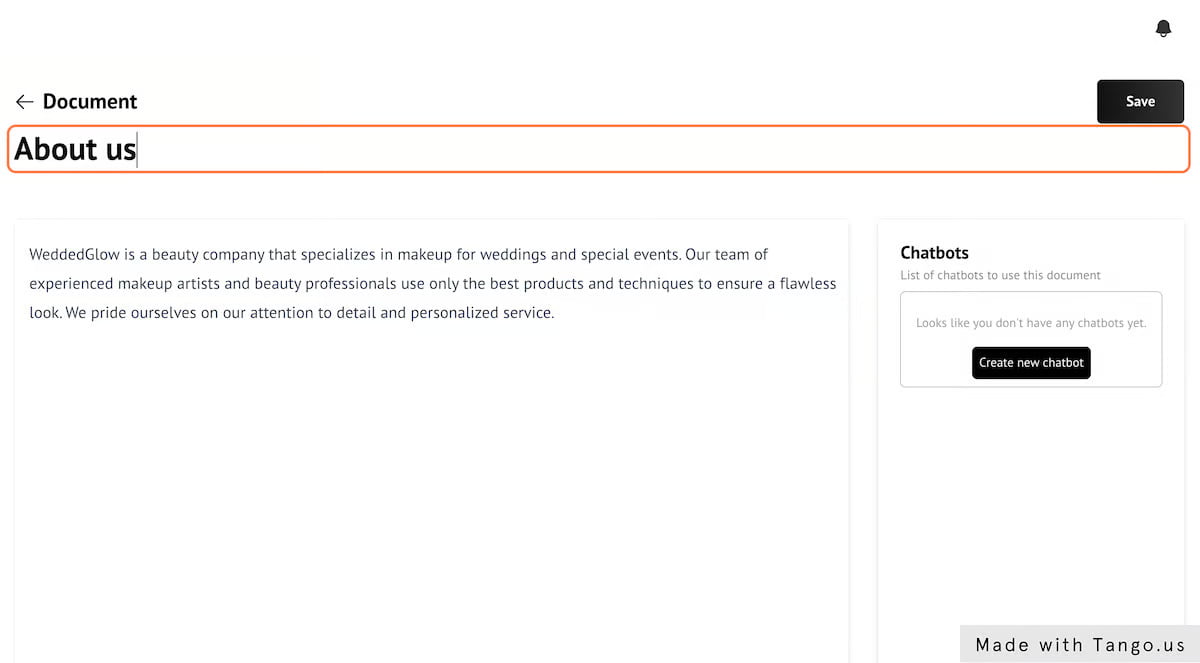
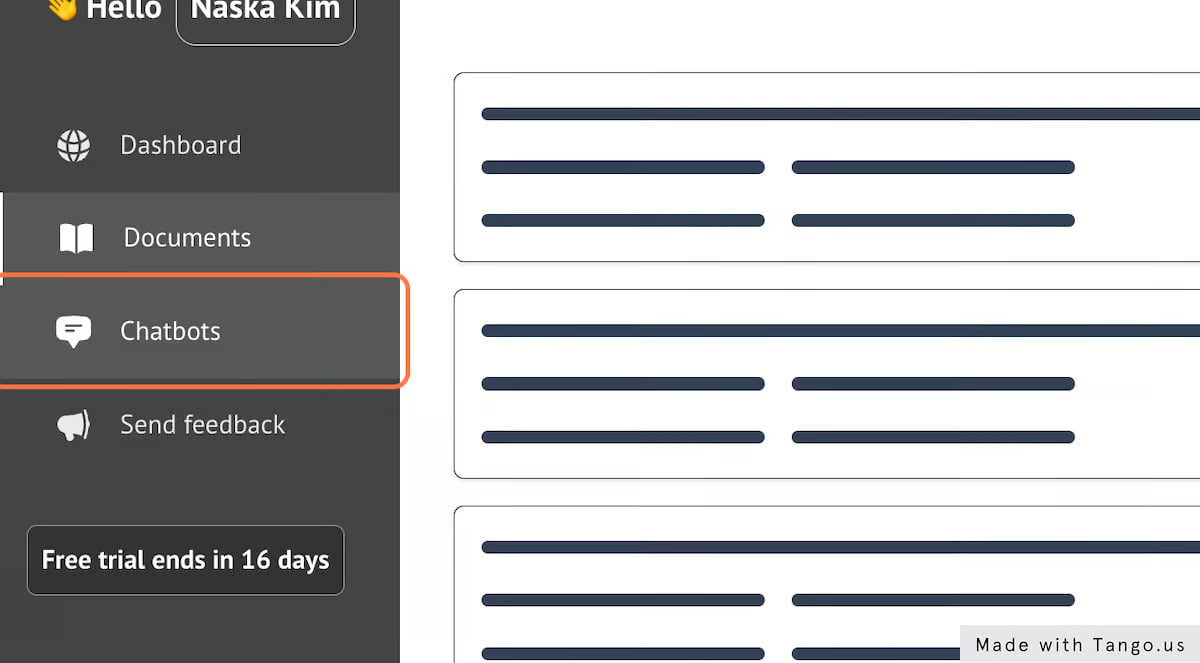
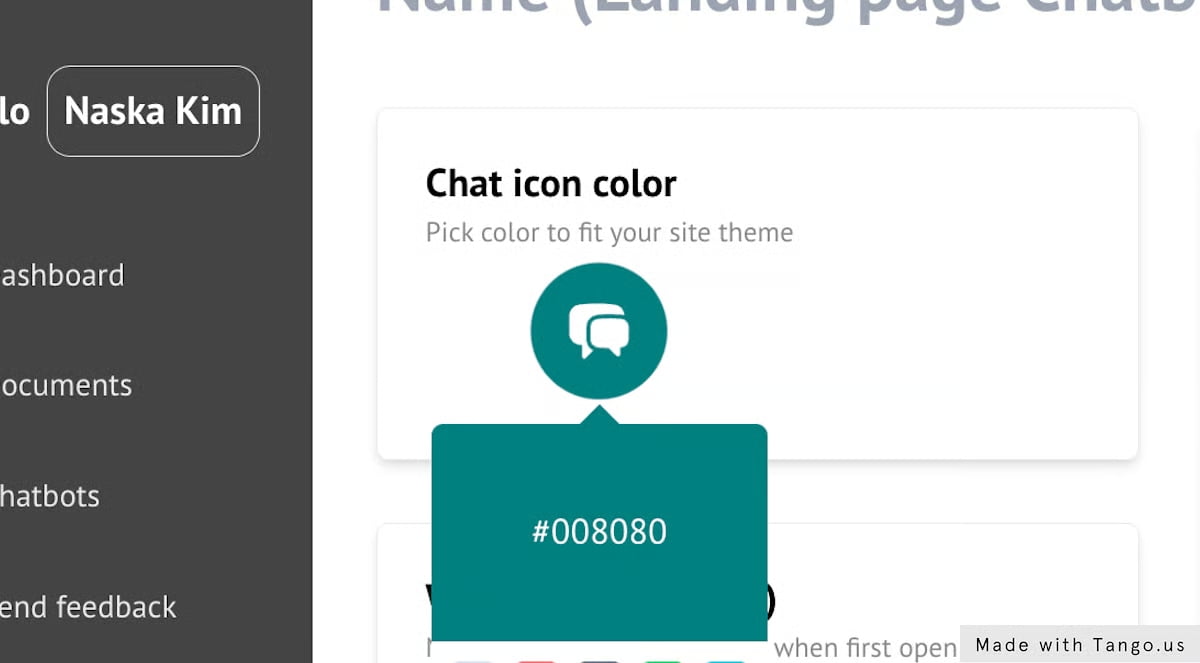
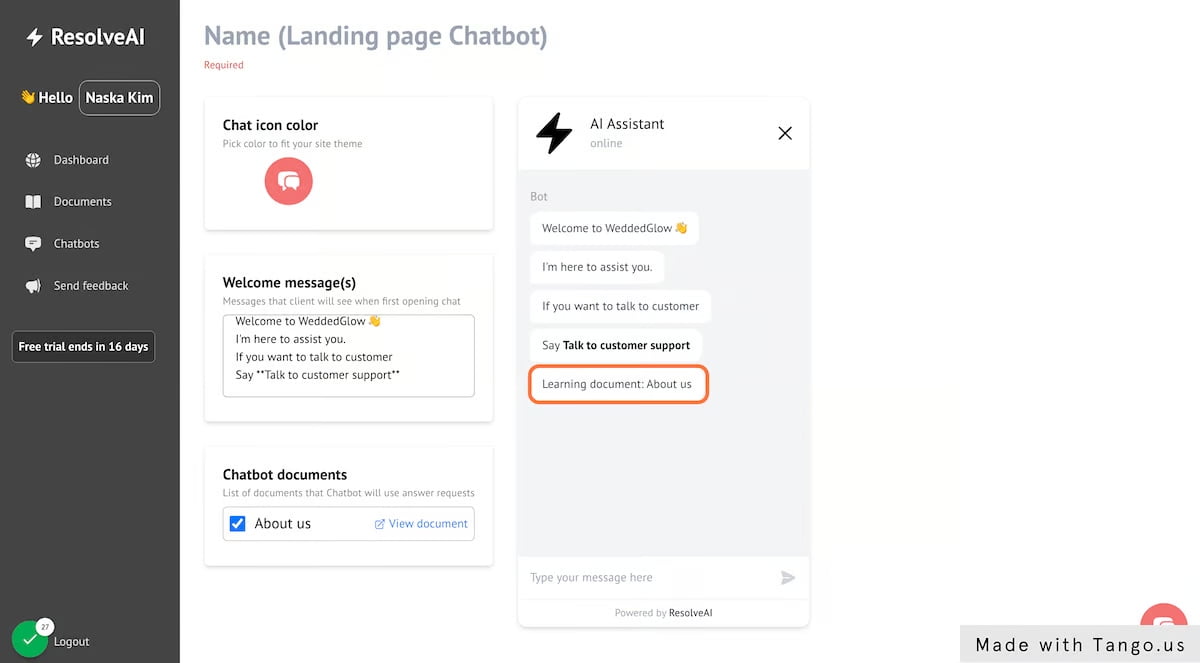
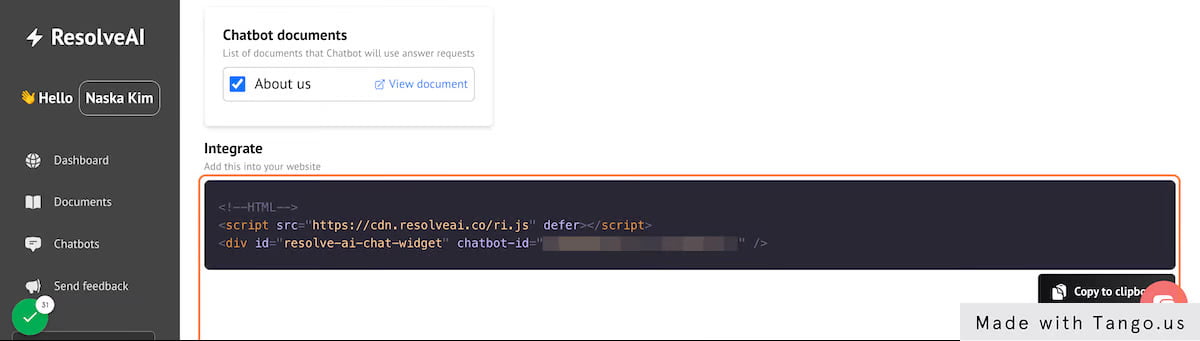
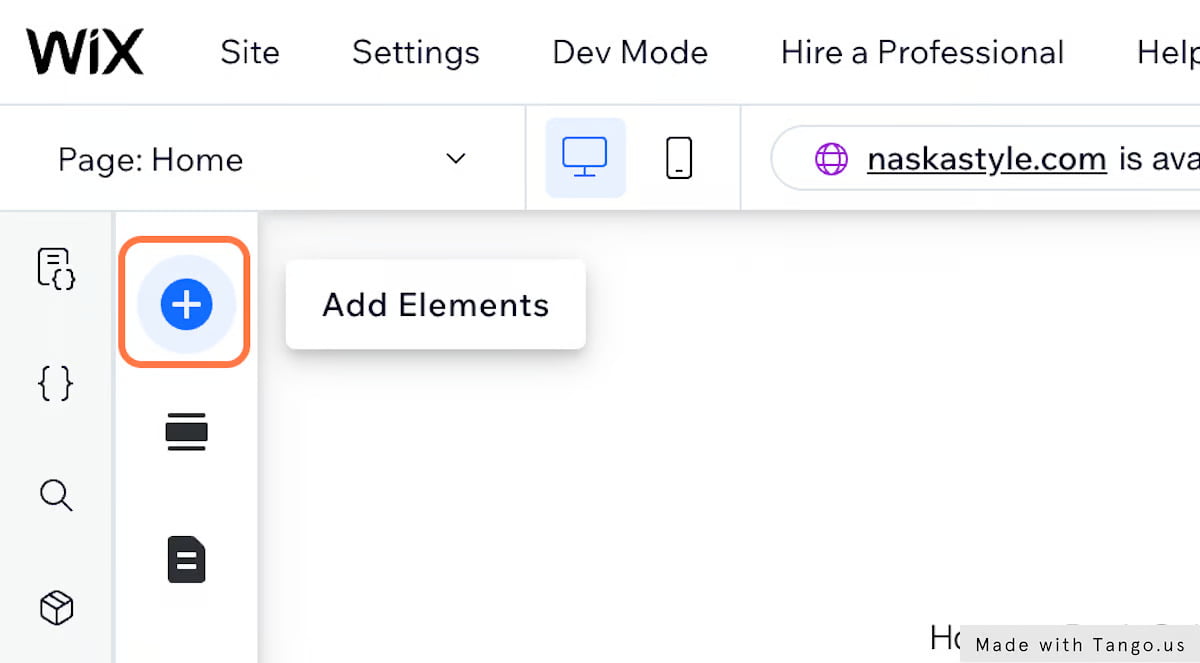
Create your first chatbot


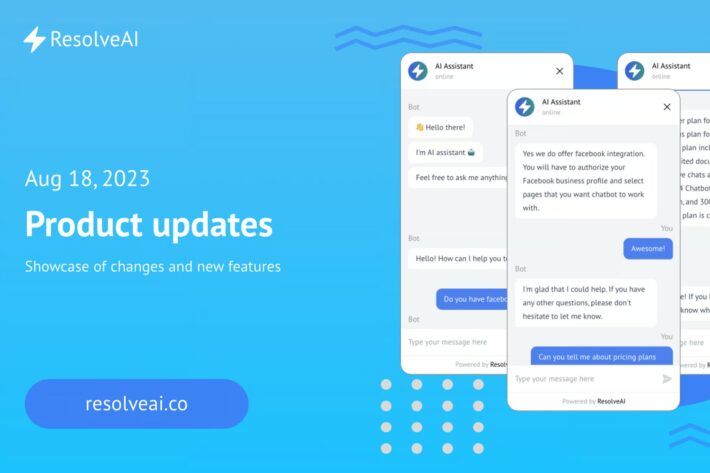
Summary of Changes Features: ???????? Unresolved Requests ???????? WIP: Improvements to AI Search ???????? WIP: API Access ???????? Unresolved Requests We understand the importance of continuous feedback in refining our system. Many of you voiced a need for a feature that pinpoints the questions our AI couldn’t answer. We’re thrilled to announce that we’ve taken […]
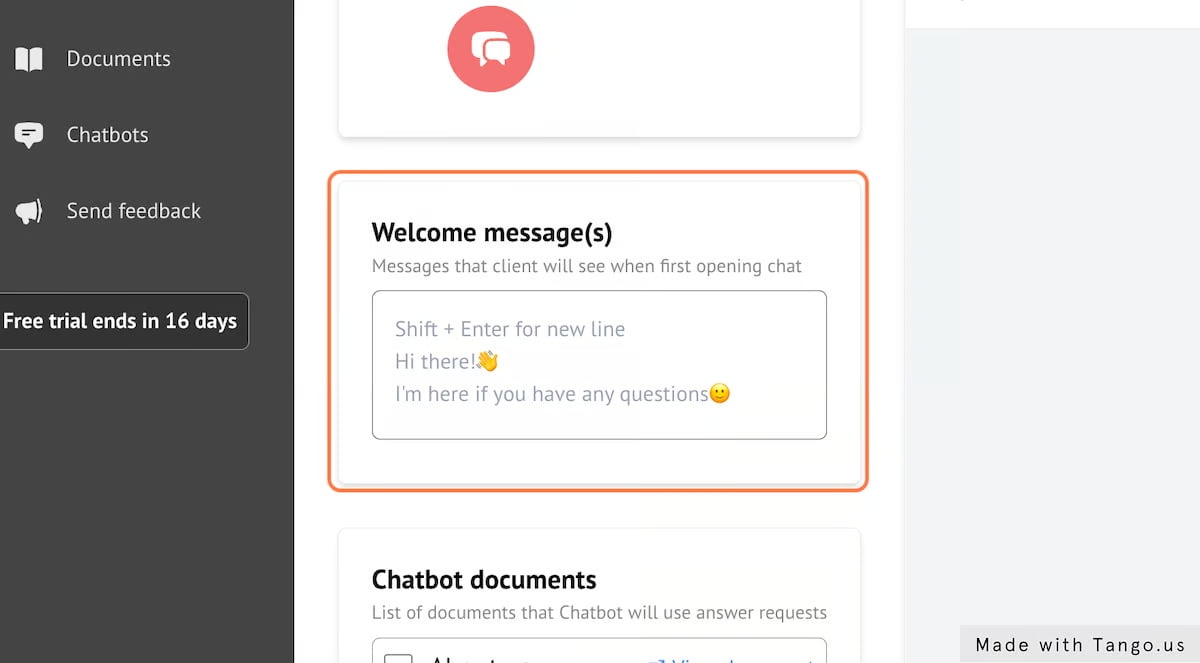
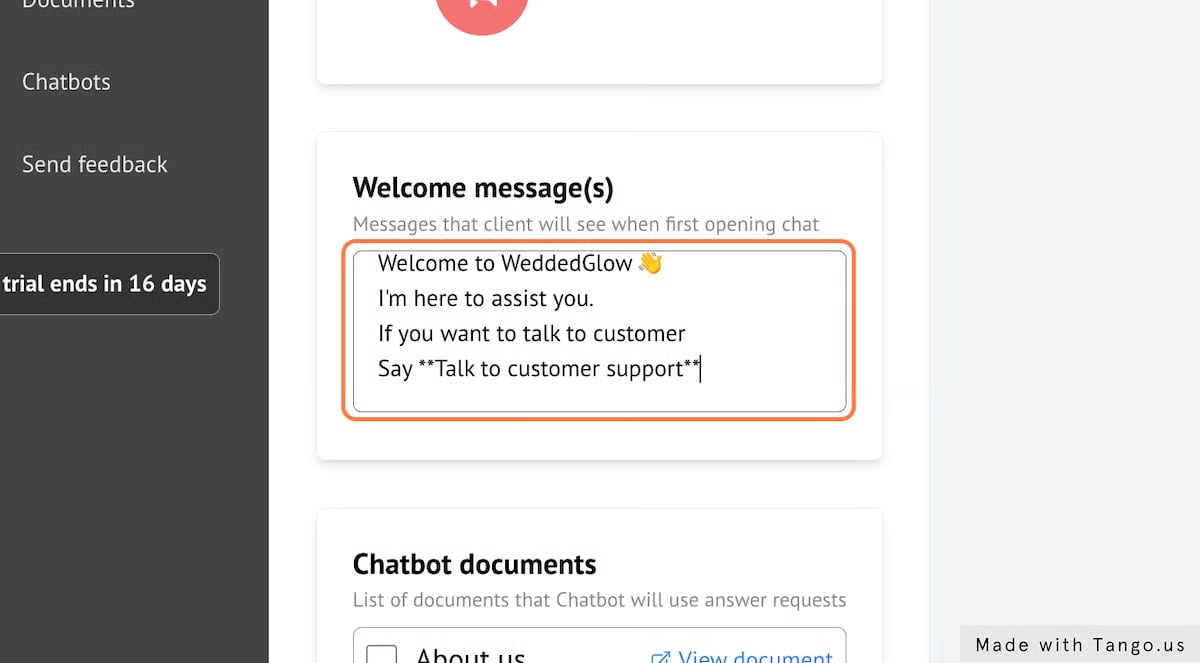
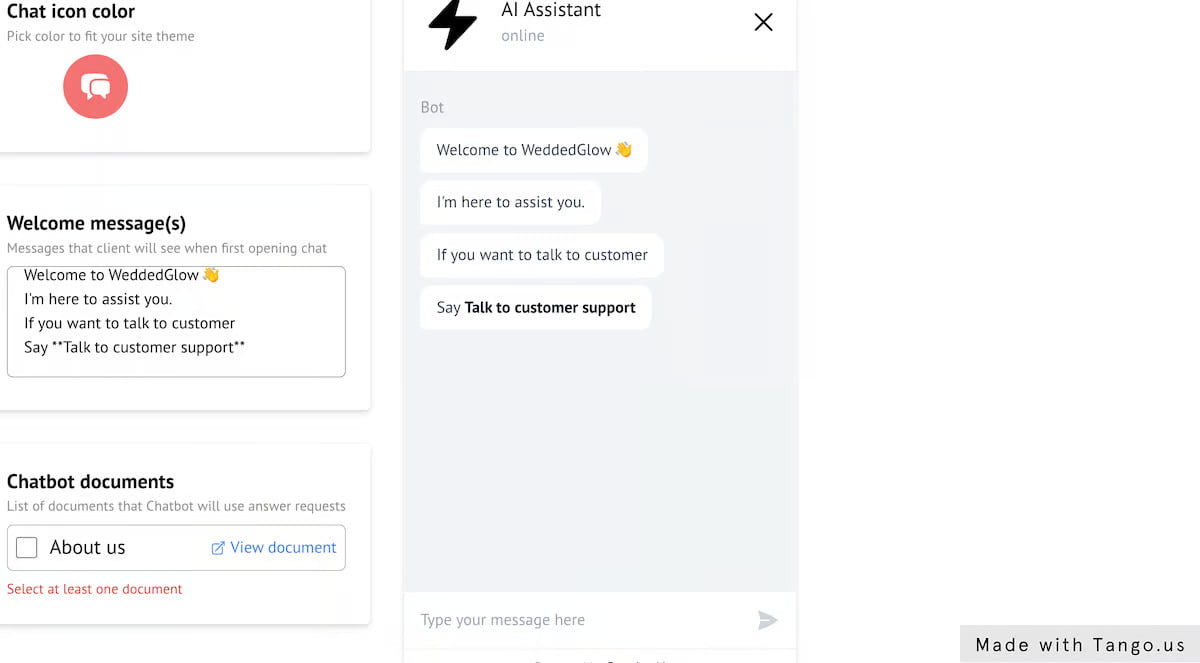
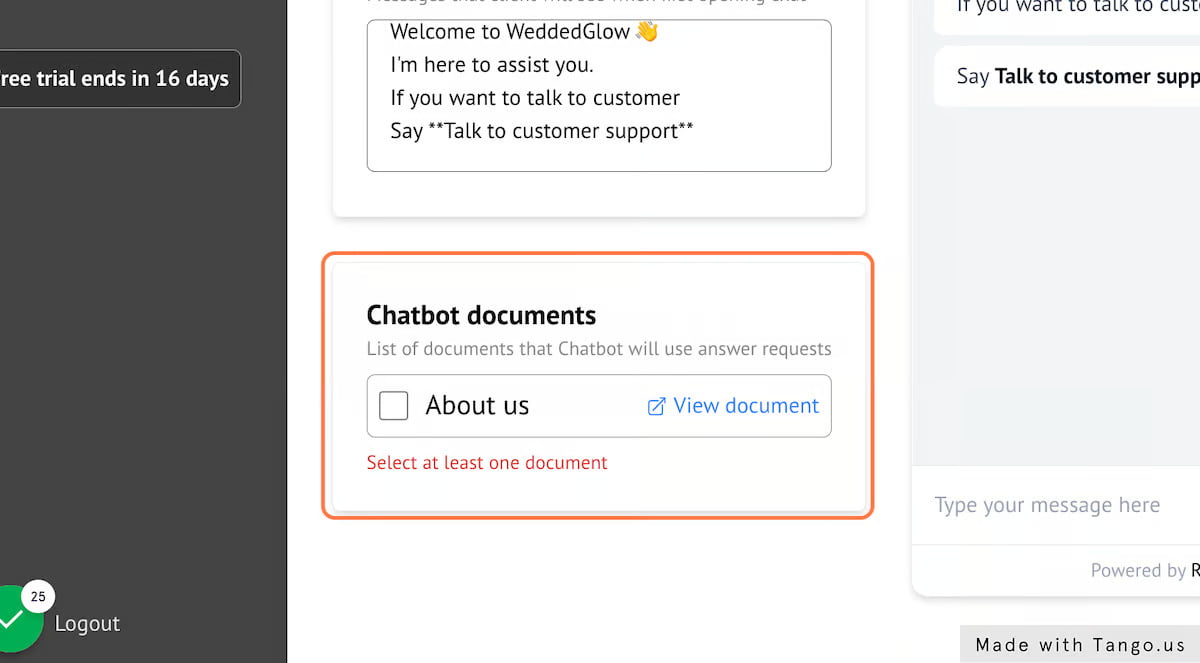
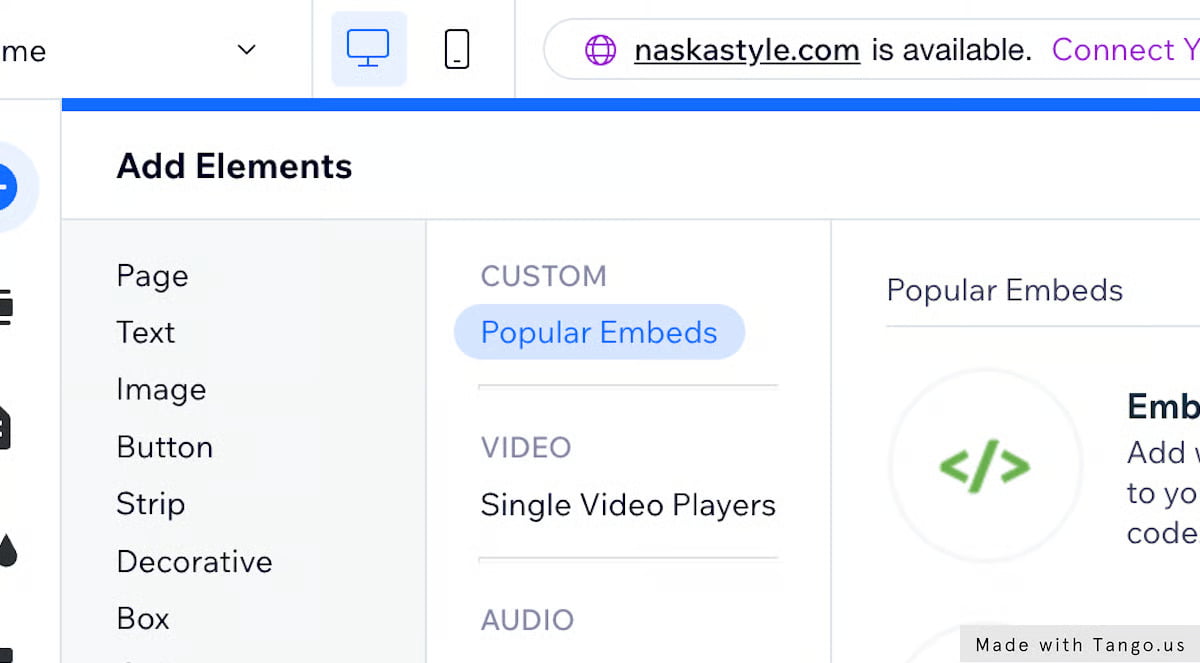
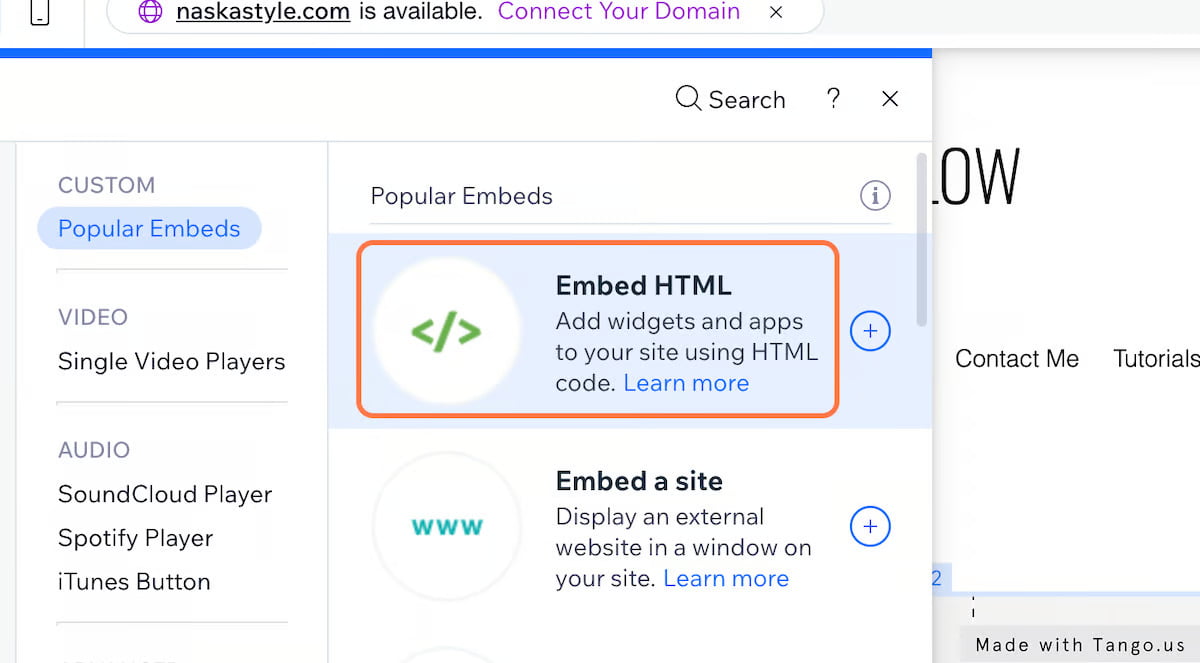
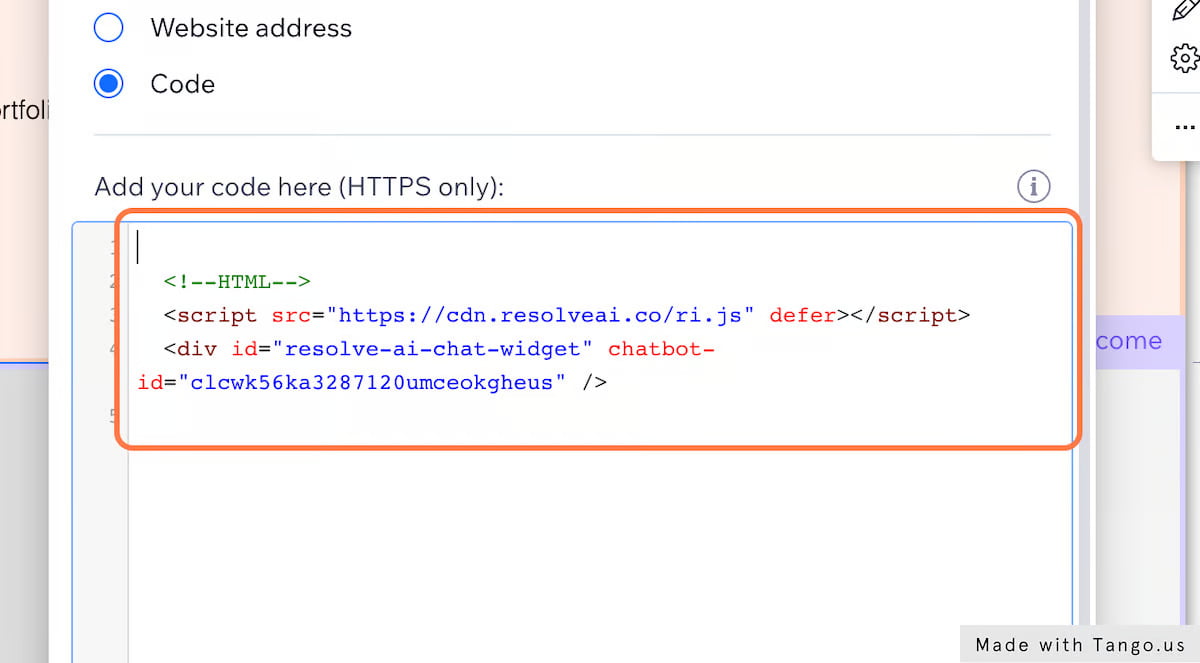
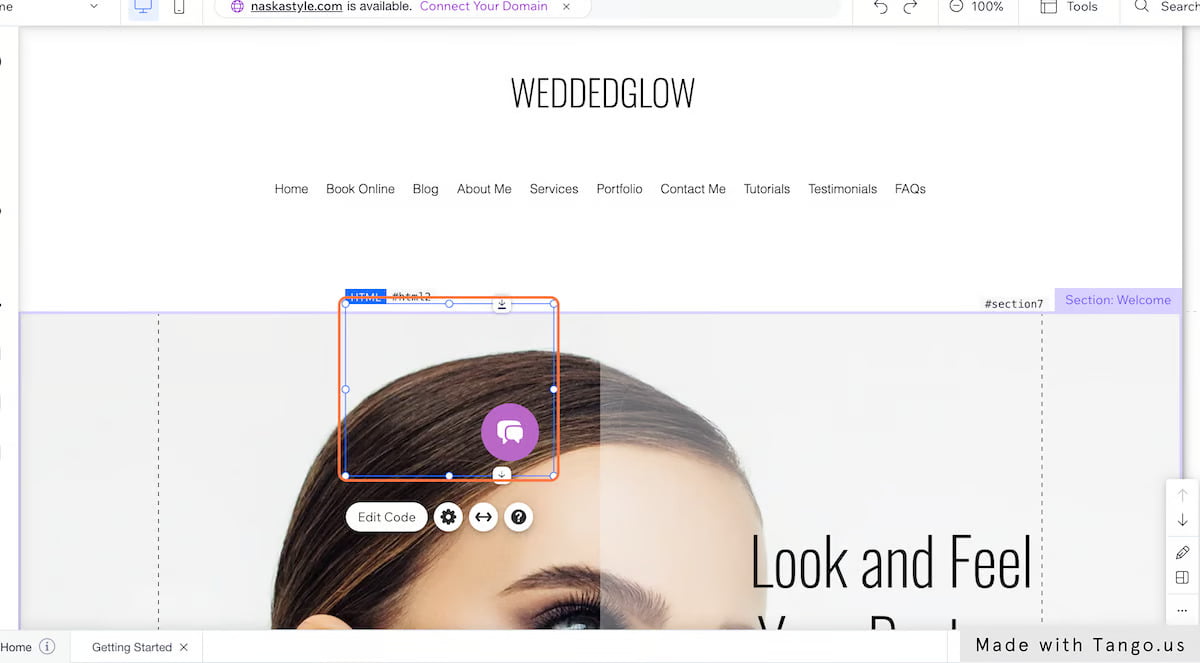
Have you ever pondered about the identity of your website visitors? More often than not, these visitors hesitate to fill out contact forms or provide their email addresses. Why not let the power of AI bridge that gap? In this comprehensive guide, we’ll walk you through creating a chatbot that not only converses with your […]
Integrating your ResolveAI Chatbot with Slack can streamline communication within your team and enhance productivity. In this step-by-step guide, we’ll walk you through the process of creating a Slack App, configuring it, and setting up a Slack account in ResolveAI for seamless interaction between the two platforms. Step 1: Create a Slack App To begin, […]